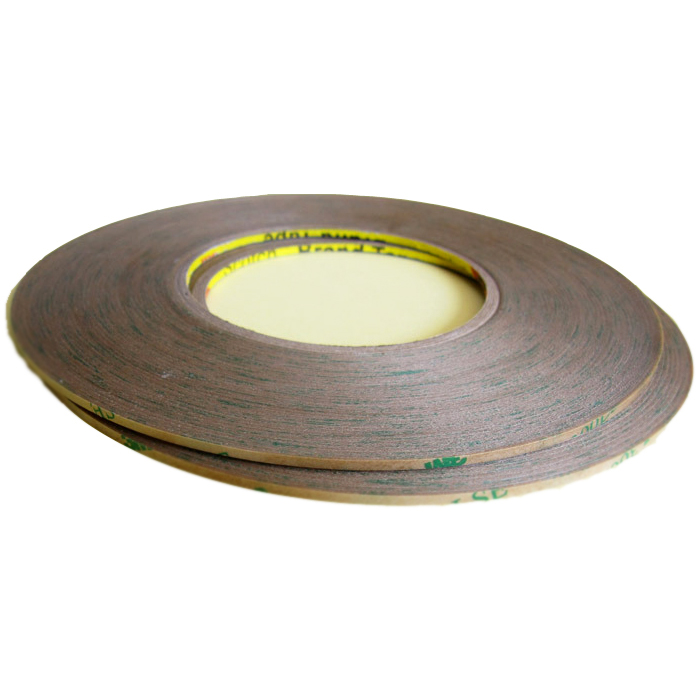
Băng Keo 2 mặt 3M 93015 dán cảm ứng dính cao chịu nhiệt 6mmx55m
Tác giả: 3M | Xem thêm các sản phẩm Băng Keo - Keo Hồ - Cắt Keo của 3MMô tả ngắn
Băng Keo 2 mặt 3M 93015 dán cảm ứng dính cao chịu nhiệt 10mmx55mGiới thiệu tới các bạn sản phẩm băng keo 2 mặt trong suốt siêu dính của 3M (3M 93015). Là dòng băng keo đặc biệt, độ bám dính cao, thí...


- Giao hàng toàn quốc
- Được kiểm tra hàng
- Thanh toán khi nhận hàng
- Chất lượng, Uy tín
- 7 ngày đổi trả dễ dàng
- Hỗ trợ xuất hóa đơn đỏ
Sản phẩm tương tự

Giới thiệu Băng Keo 2 mặt 3M 93015 dán cảm ứng dính cao chịu nhiệt 6mmx55m
Băng Keo 2 mặt 3M 93015 dán cảm ứng dính cao chịu nhiệt 10mmx55m
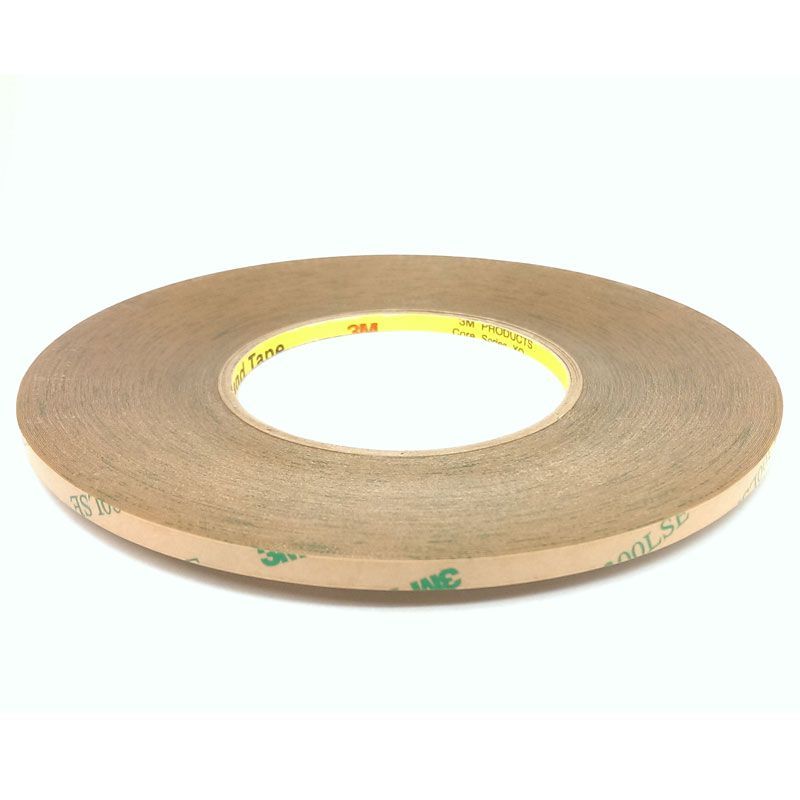
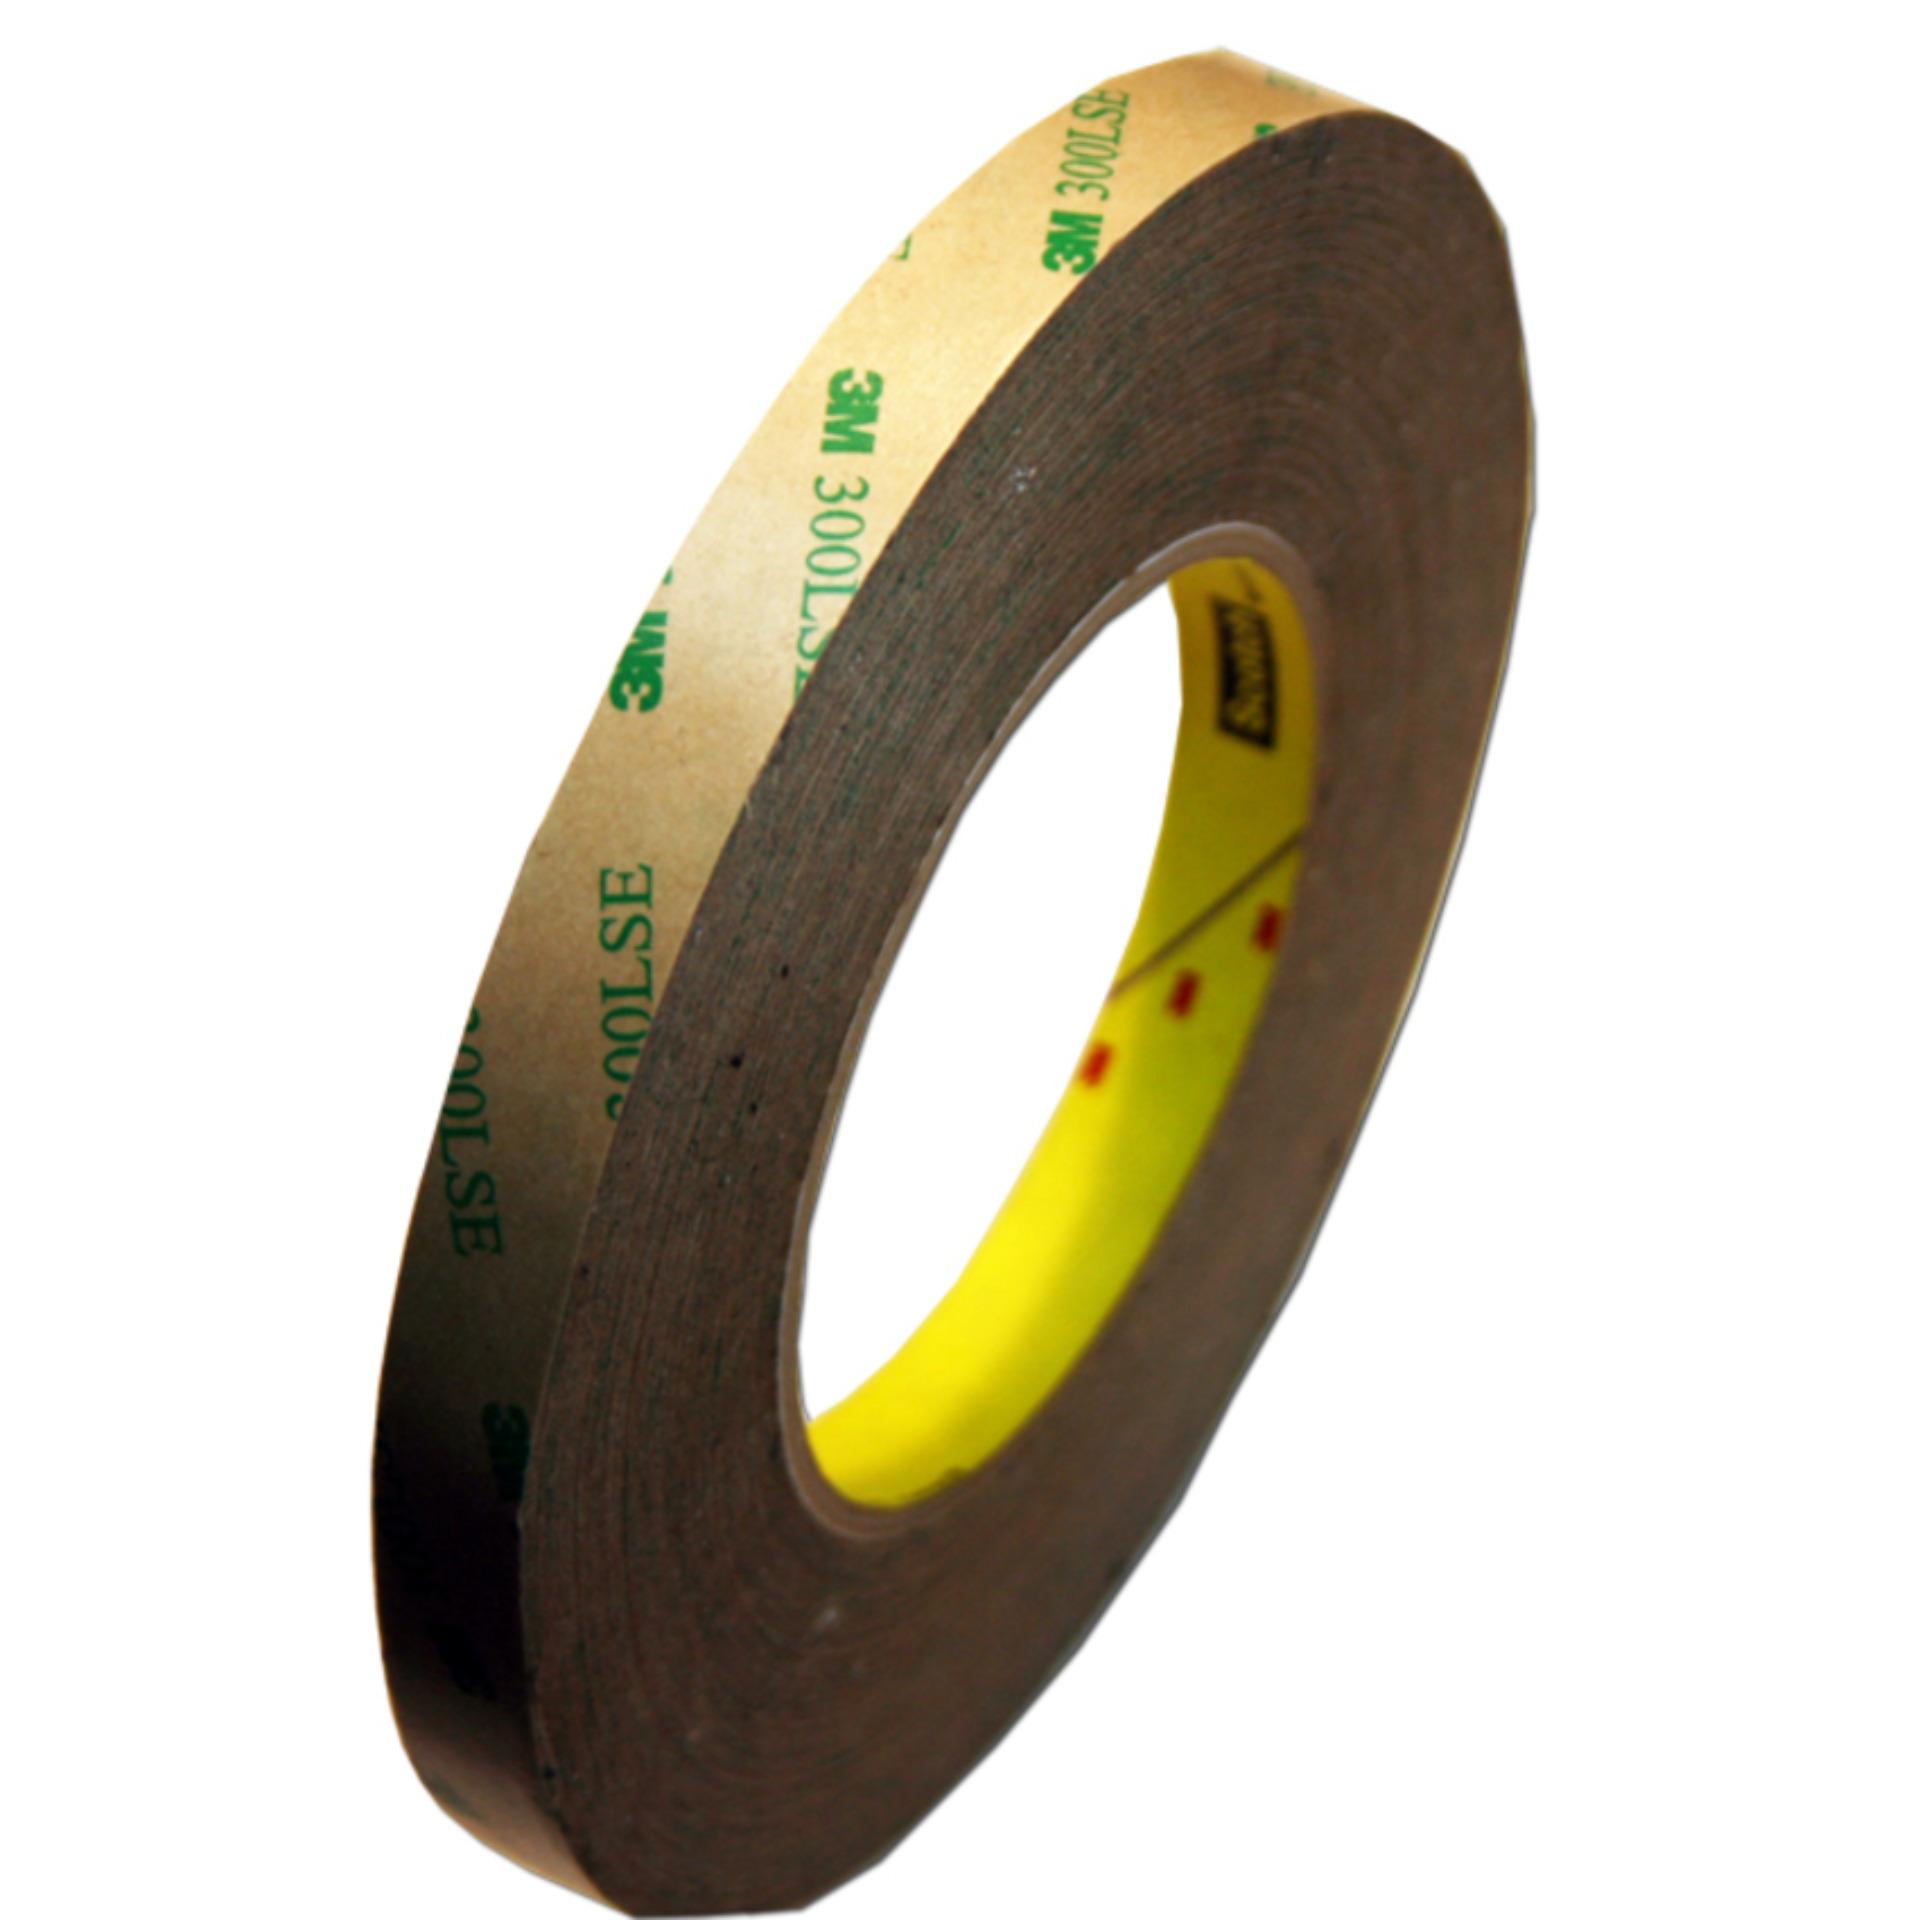
Giới thiệu tới các bạn sản phẩm băng keo 2 mặt trong suốt siêu dính của 3M (3M 93015).
Là dòng băng keo đặc biệt, độ bám dính cao, thích hợp cho các bề mặt nhựa, nhựa được sơn, kim loại hay kim loại đã sơn
Chuyên được thiết kế để dán các linh kiện, bộ phận trong ngành điện tử, xe hơi, công nghiệp khác.
Có khả năng chịu dòng điện cao
Sản phẩm chịu được nhiệt độ cao lên đến 150 độ C.
Độ dày 0.15mm
xuất xứ từ 3M USA
Hình ảnh:


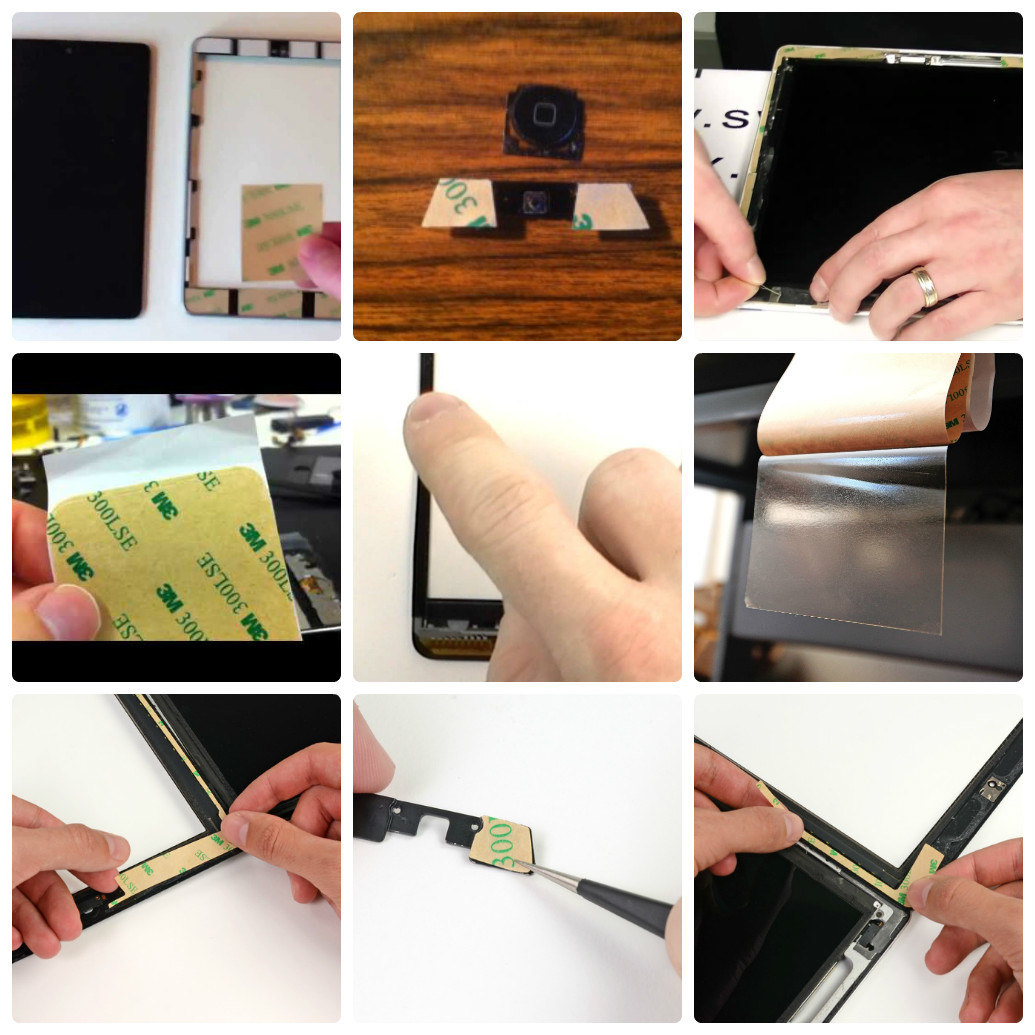
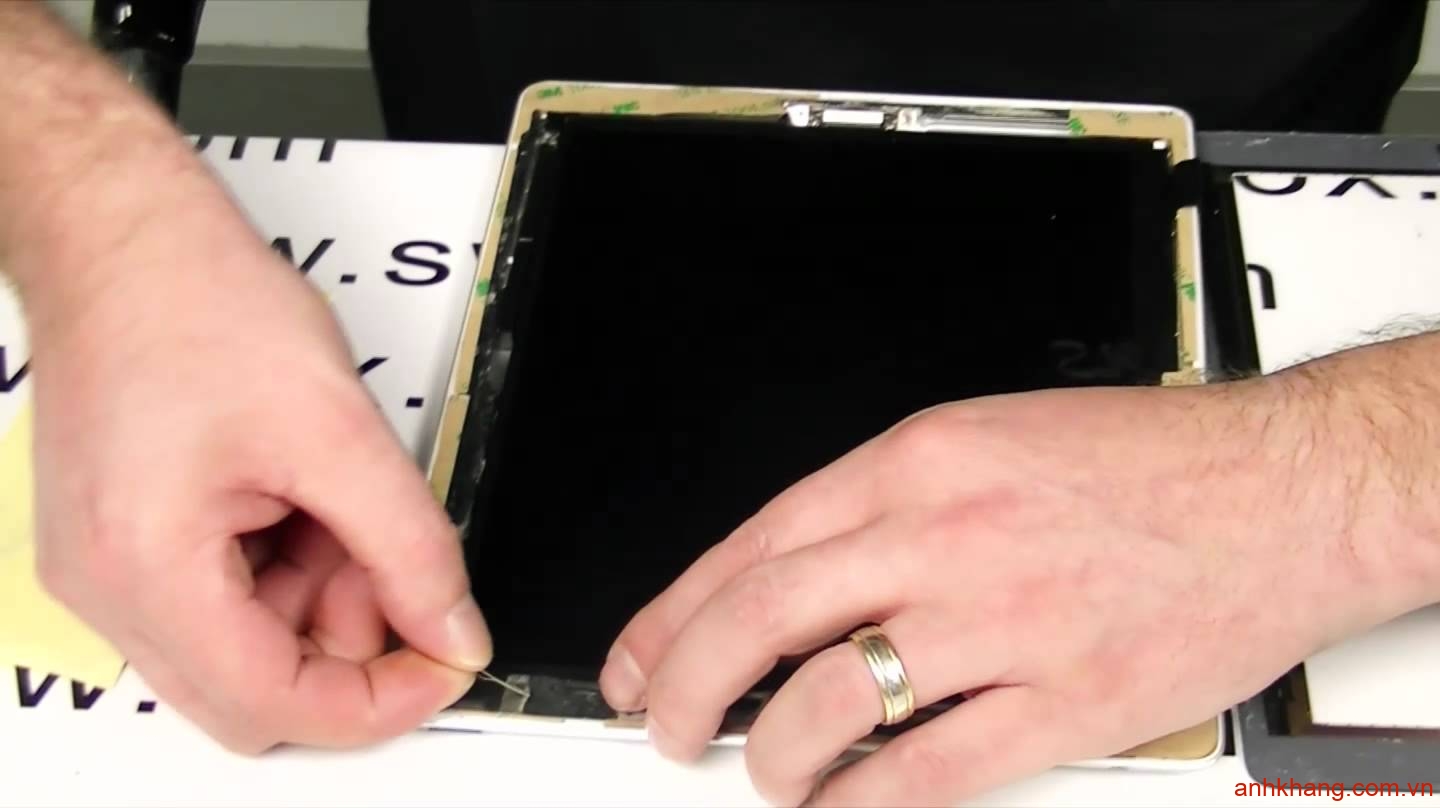
iPad 2 Wi-Fi EMC 2415 Front Panel Adhesive Strips Replacement
Step 1 — Home Button


-
Carefully grasp the home button with a pair of tweezers.
-
Gently lower and place the home button into the round opening located at the bottom of the front panel.
-
The correct orientation of the home button is shown in the third picture. Make sure the back of the home button is face up and the flat portion of the inner home button circle is oriented to the top of the iPad.
Step 2 — Front Panel Adhesive Strips


-
The two small notched trapezoidal strips will be used to attach the home button bracket to the front panel.
-
Carefully peel off the first trapezoidal adhesive strip.
Step 3


-
Using a pair of tweezers, place the first trapezoidal adhesive strip (minding its correct orientation) on the matching side of the home button mounting bracket.
-
Make sure to line up the profile of the strip with the edge of the mounting bracket.
-
Repeat the procedure for the second trapezoidal adhesive strip.
Step 4

-
Use a pair of tweezers to grasp the corner of one of the adhesive strips placed on the mounting bracket.
-
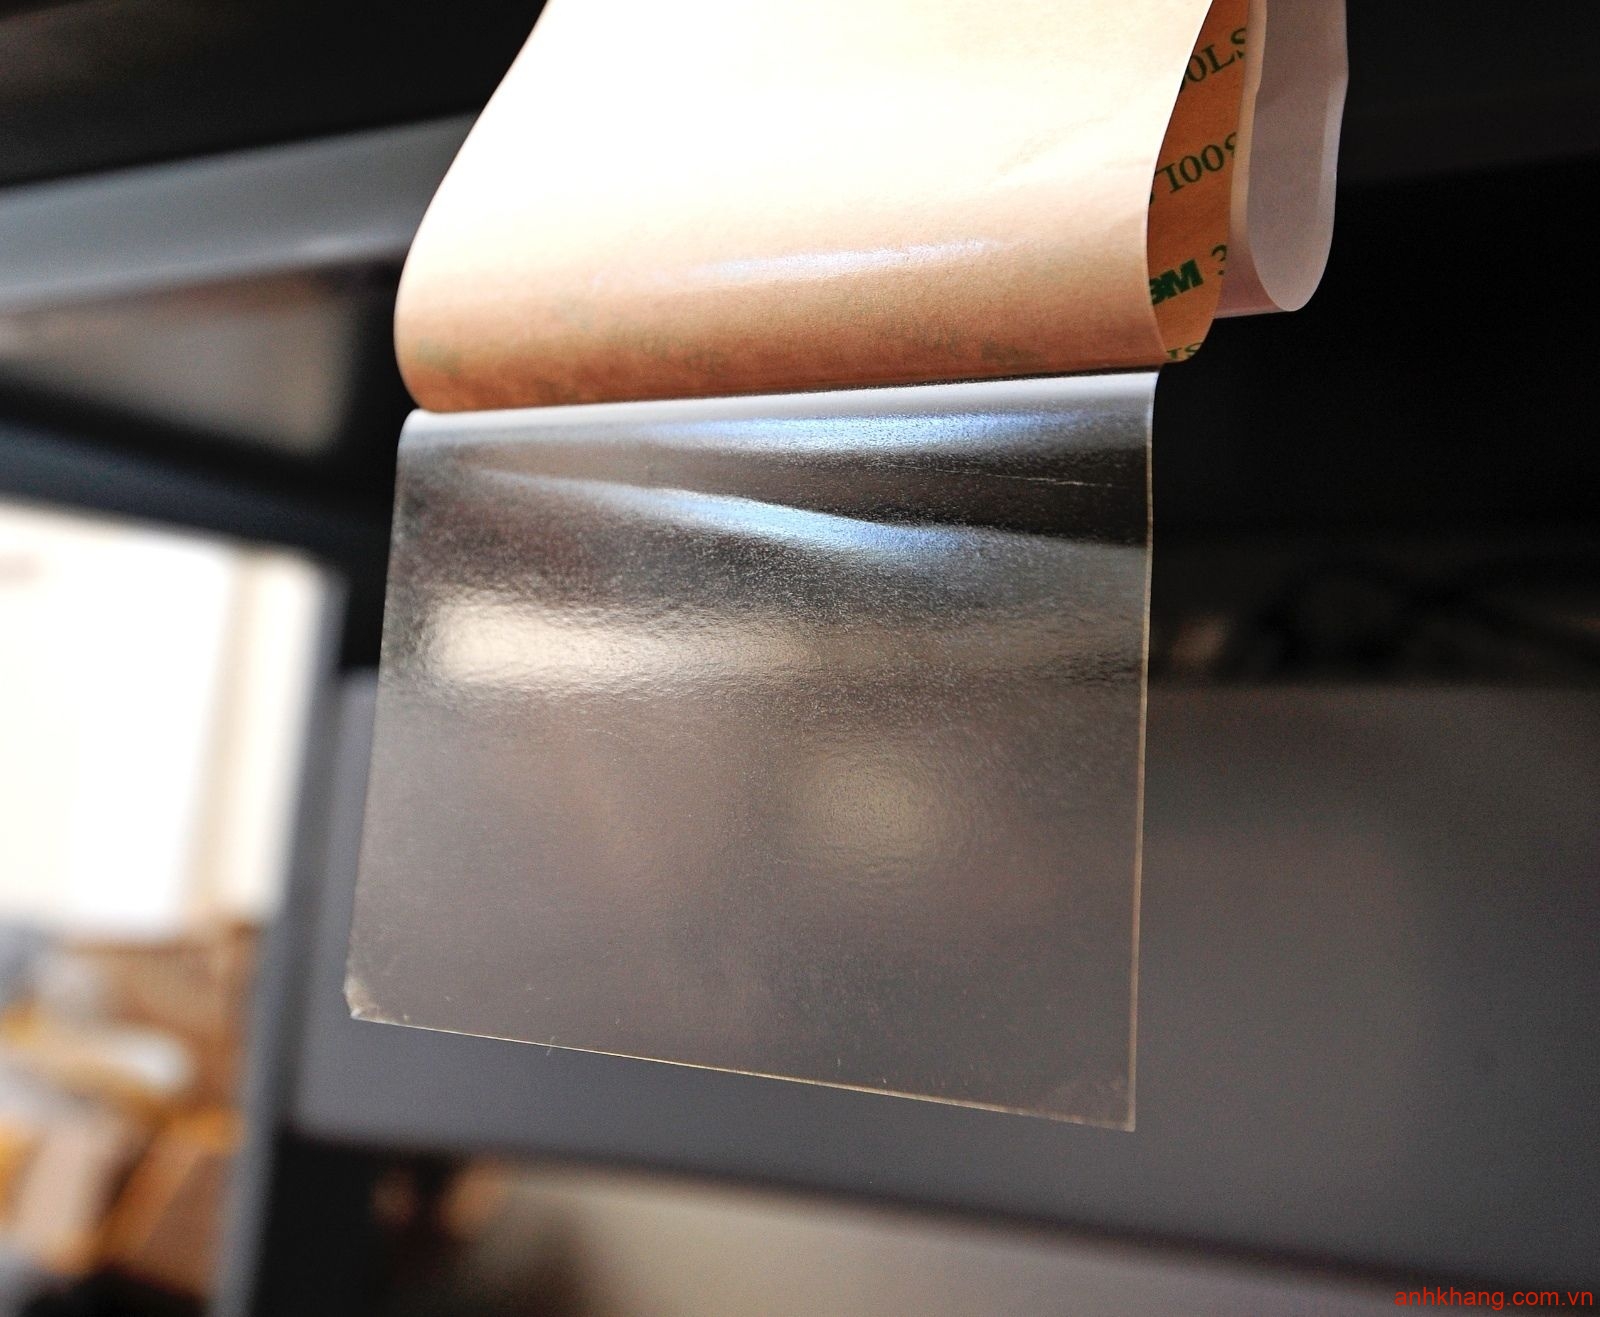
Lift and peel the brown backing up off the adhesive strip, revealing the clear adhesive strip.
-
Repeat the procedure for the secondary adhesive strip.
Step 5


-
Gently place the home button mounting bracket on top of the home button.
-
Make sure the home button mounting bracket is lined up with the bottom of the digitizer.
Step 6


-
In the following steps, you will be placing the remaining pieces of adhesive on the front panel.
-
Do not peel the brown backing off the strips just yet.
-
Place the largest L-shaped adhesive strip on the top left corner of the front panel.
-
Smooth the strip down from the center out, taking care to not trap any air bubbles between the strip and the front panel.
Step 7


-
Place the thinnest L-shaped adhesive strip on the bottom left corner of the front panel.
Step 8


-
Place the remaining thin L-shaped adhesive strip on the top right corner of the front panel, near the camera mounting bracket.
Step 9


-
Place the straight adhesive strip on the right side of the front panel.
-
If you've already attached the digitizer cable, you'll have to work around/under it to attach this strip.
-
Step 10


-
Place the last L-shaped adhesive strip on the bottom right corner of the front panel.
Step 11


-
Lay the thin T-shaped adhesive strip between the bottom edge of the inner frame of the front panel and the camera mounting bracket. The longest edge should be flush with the inner frame.
Giá sản phẩm trên Tiki đã bao gồm thuế theo luật hiện hành. Bên cạnh đó, tuỳ vào loại sản phẩm, hình thức và địa chỉ giao hàng mà có thể phát sinh thêm chi phí khác như phí vận chuyển, phụ phí hàng cồng kềnh, thuế nhập khẩu (đối với đơn hàng giao từ nước ngoài có giá trị trên 1 triệu đồng).....
Giá SZCB
Thông tin chi tiết
| Thương hiệu | 3M |
|---|---|
| Xuất xứ thương hiệu | Mỹ |
| SKU | 5020063067678 |
Từ khóa
văn phòng phẩm giấy in a4 washi slime hình dán sticker trang trí sổ tay băng keo trong thiên long hồ khô keo siêu dính băng keo đóng hàng keo dính 2 mặt siêu chắc cắt băng keo keo x2000 siêu dính đa năng keo 502 băng kéo 2 mặt dạng kéo keo dán kệ sách băng keo 2 mặt băng keo vải băng keo siêu dính keo dán sắt băng keo trong nhỏ keo dán hồ dán khô băng dính 2 mặt trong suốt băng keo giấy băng dính giấy băng dính hàng dễ vỡ keo dán tường siêu dính chịu lực 2 mặt băng dính 1kg băng dính 2 mặt keo 3m 2 mặt siêu dính